

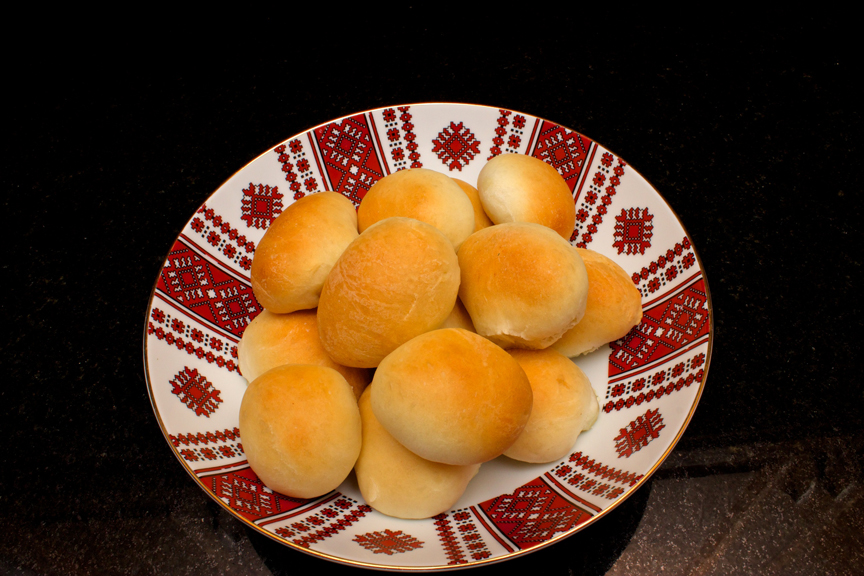
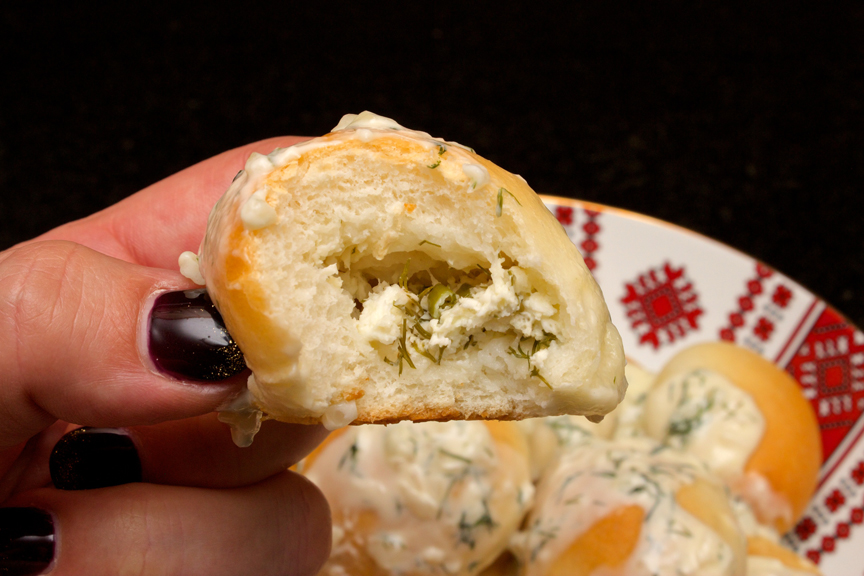
There is nothing more comforting on a cold winter day than warm buns. You can interpret that however you like. I mean, whatever floats your boat, you silly animals. But right now, I’m talking about these dough buns above, otherwise known as “Perishke” in Ukrainian. Delicious, soft, warm cottage cheese filled buns smothered in creamy dill sauce. One bite and you will forget all about those other warm buns you were thinking about.
Growing up, we actually never had a lot of these in the house. I recall having them sparingly at community or church functions. This was another recipe that we received a ton of requests for, so it was a great way for us to get reacquainted with this traditional Ukrainian dish. After making these, Claudia quickly proclaimed that these will be on our table every Christmas dinner moving forward. They are very decadent. The cream sauce gives the entire dish a sweetness while the dill reminds you of summer, with a hint of freshness. The cottage cheese filling is rich and super flavourful. I can see why so many people have asked for this recipe over the past few years! It truly is spectacular and super simple!
You will need:
For the bun dough:
2 tbsp yeast
1 cup lukewarm water
3 eggs
1 cup water
6 tbsp canola oil
1/2 cup plus 2 tbsp white sugar, divided
1 tsp salt
6 cups all purpose flour
For the cottage cheese filling:
2 lbs. dry curd cottage cheese
2 eggs
4 green onions, thinly sliced
1 cup fresh dill, finely chopped
Salt and pepper to taste
For Dill Sauce:
1 small onion, finely chopped
1/4 cup fresh dill, finely chopped
2 tbsp butter
2 cups whipping cream
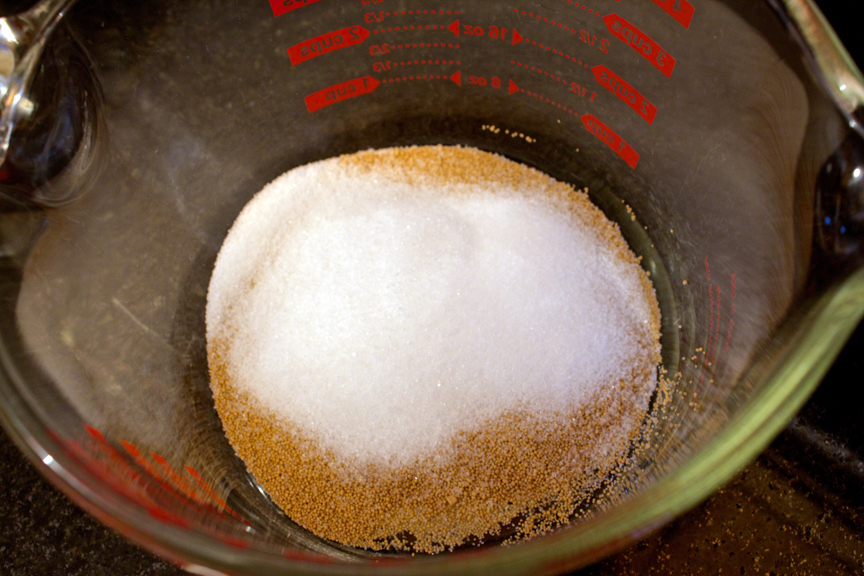
Place yeast and sugar into a small bowl.
Add 1 cup of lukewarm water and stir.
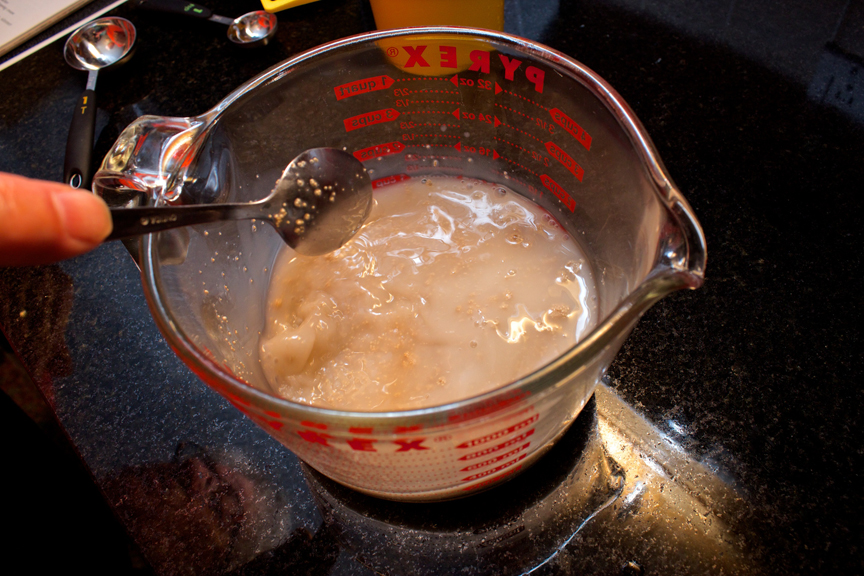
Let rise for about 10 minutes, or until very frothy.
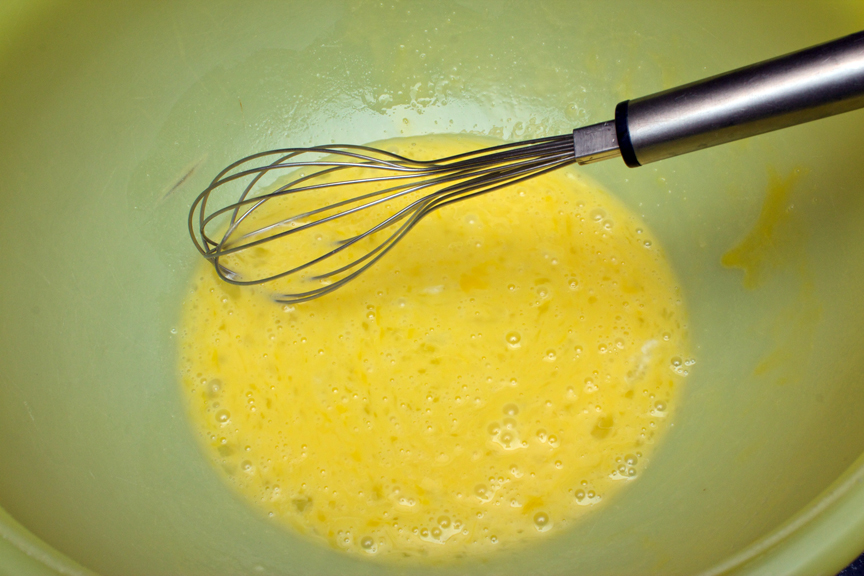
In a large bowl, whisk eggs together.
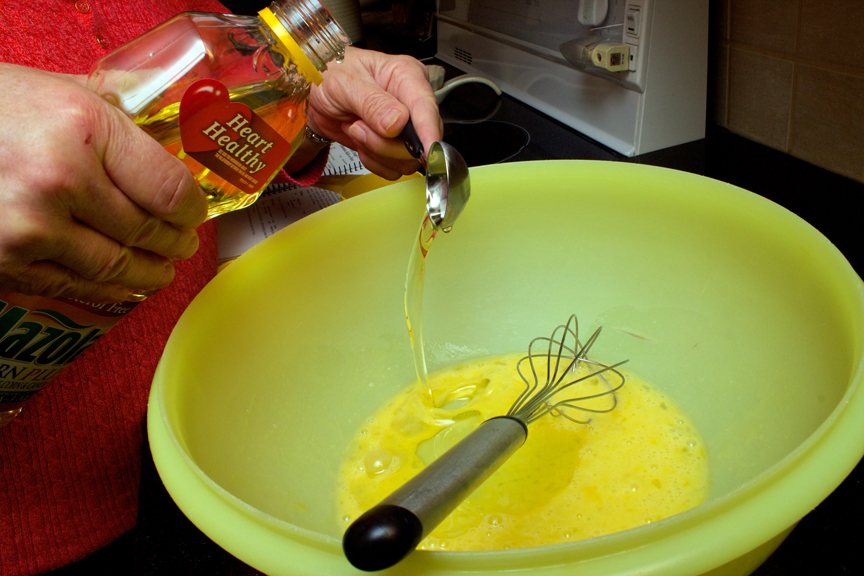
Whisk in canola oil.
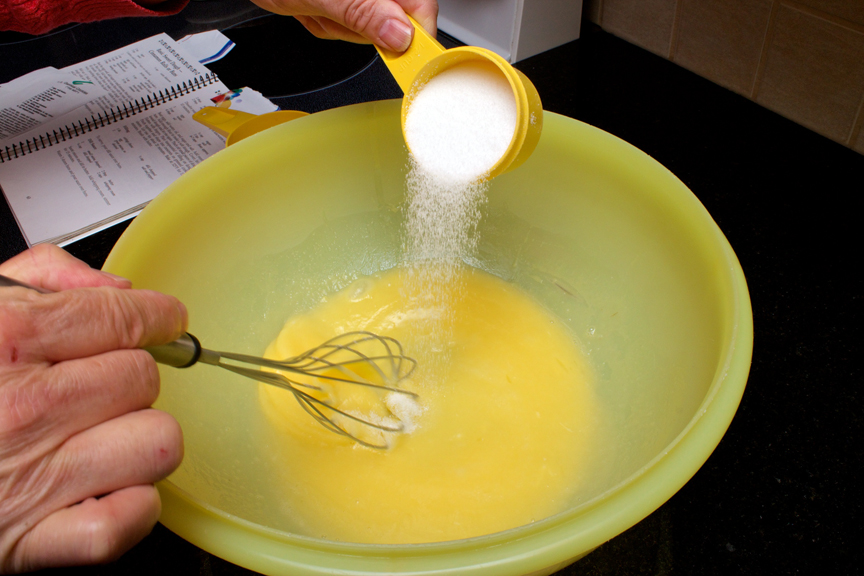
Next whisk in 1/2 cup sugar.
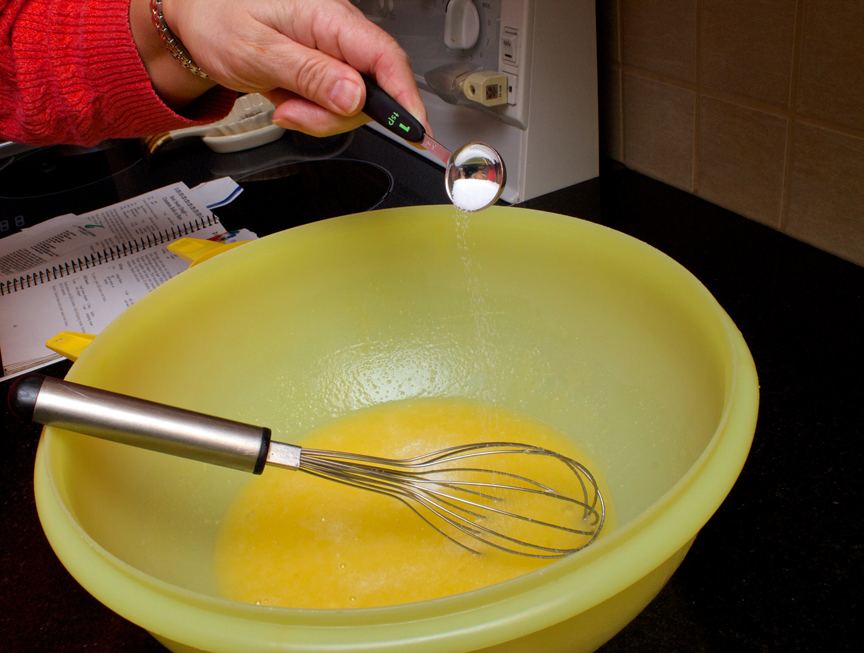
Then whisk in your salt.
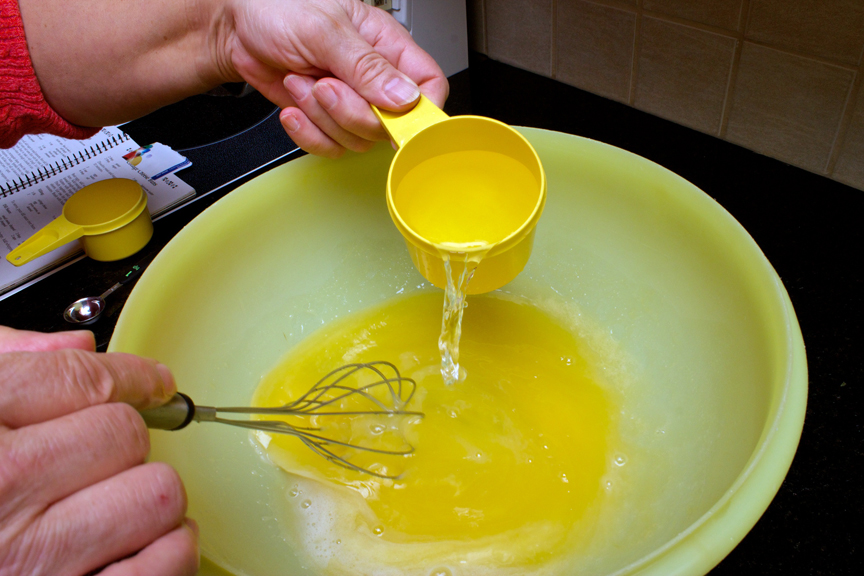
Next add your 1 cup of water.
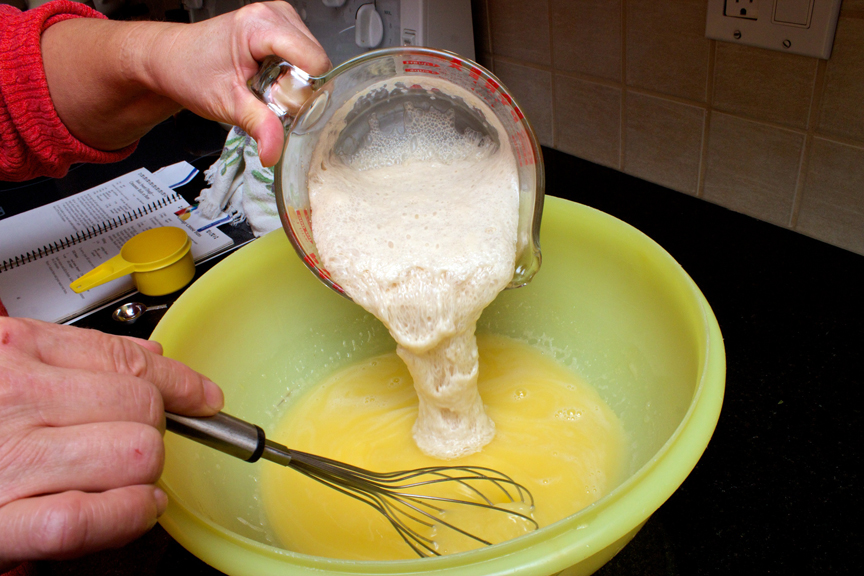
Finally, add in your frothy yeast mixture.
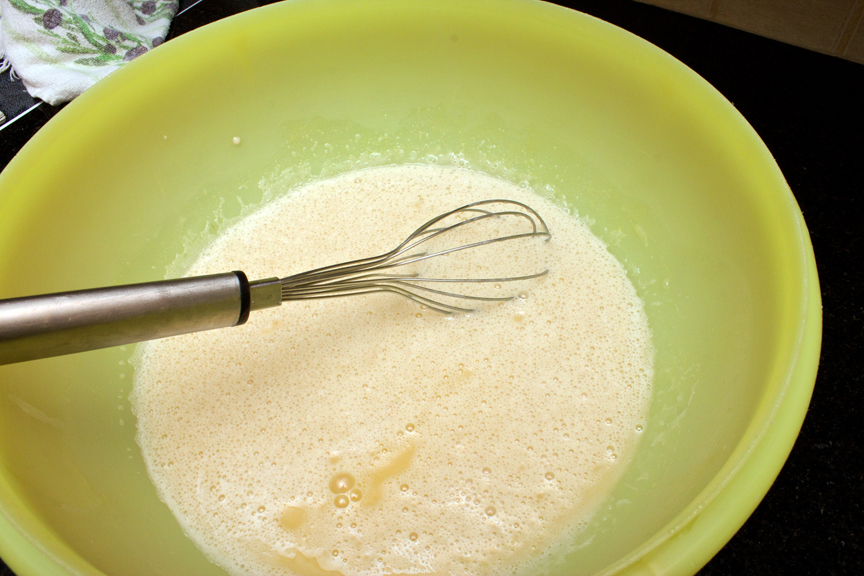
Stir well.
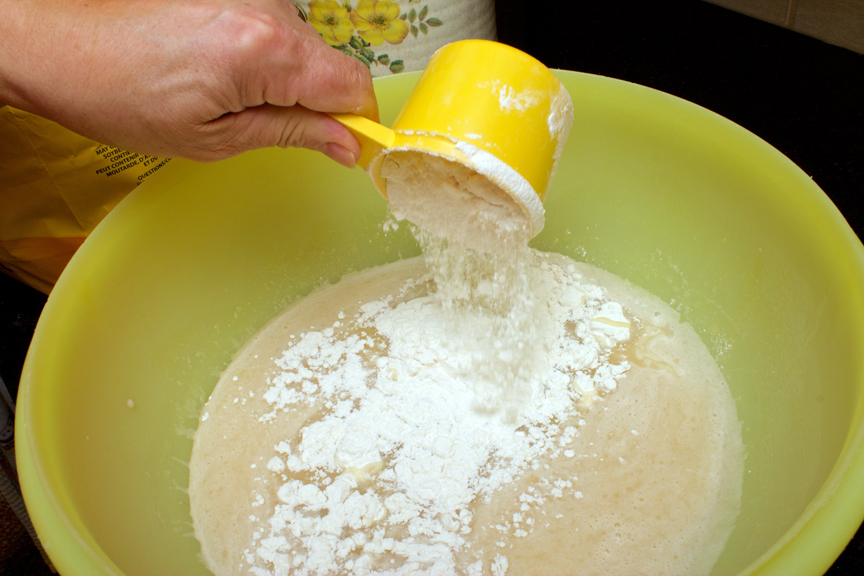
Add your flour 1 cup at a time.
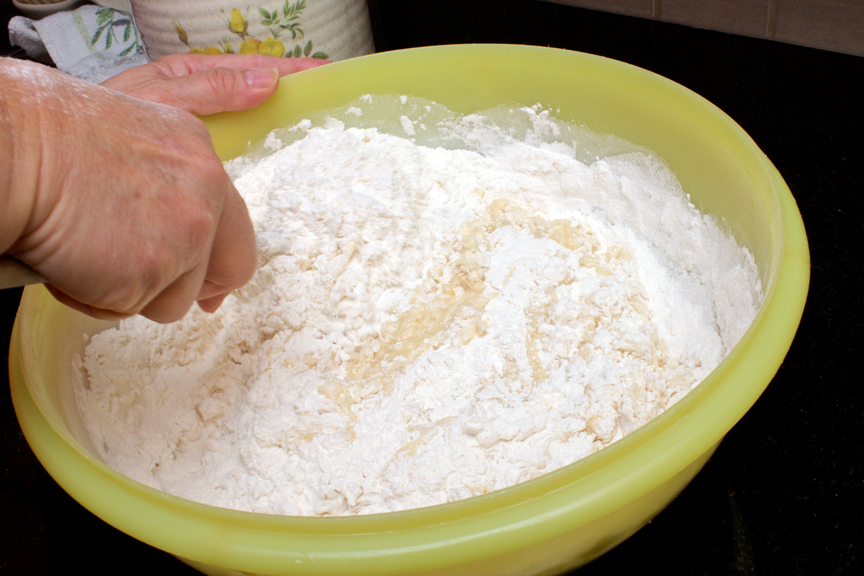
Mix well until flour is combined with the wet ingredients.
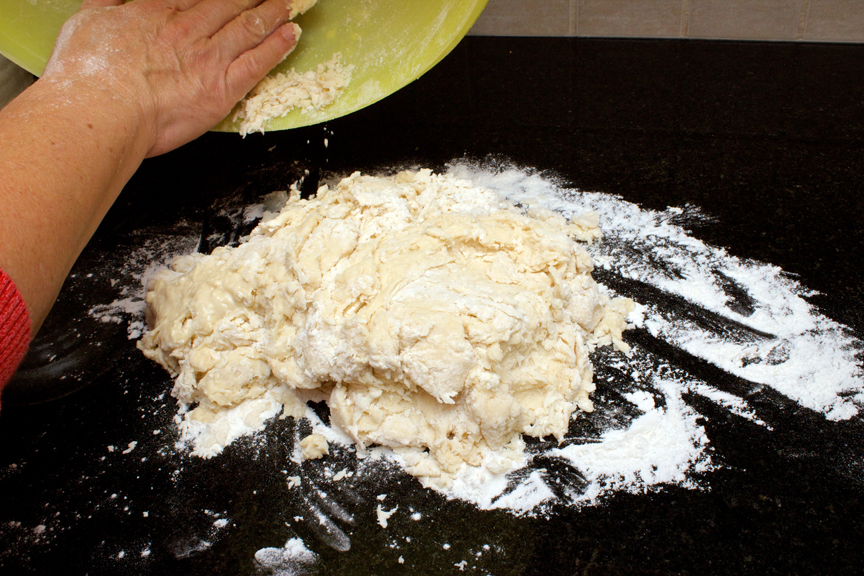
Transfer your dough onto a well-floured surface.
Kneed until dough is soft and elastic, about 5 minutes.
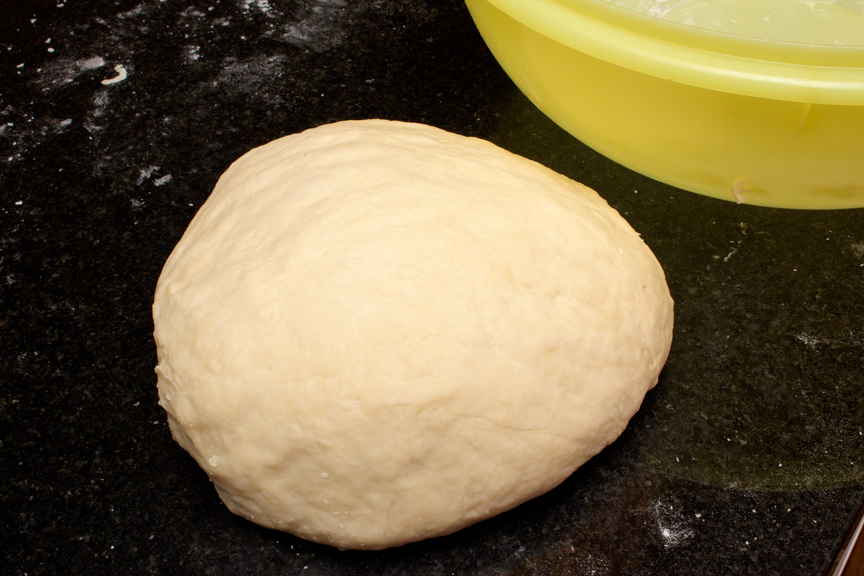
Form into a ball.
Place dough into a large oiled bowl, turning the dough ball once to coat completely.
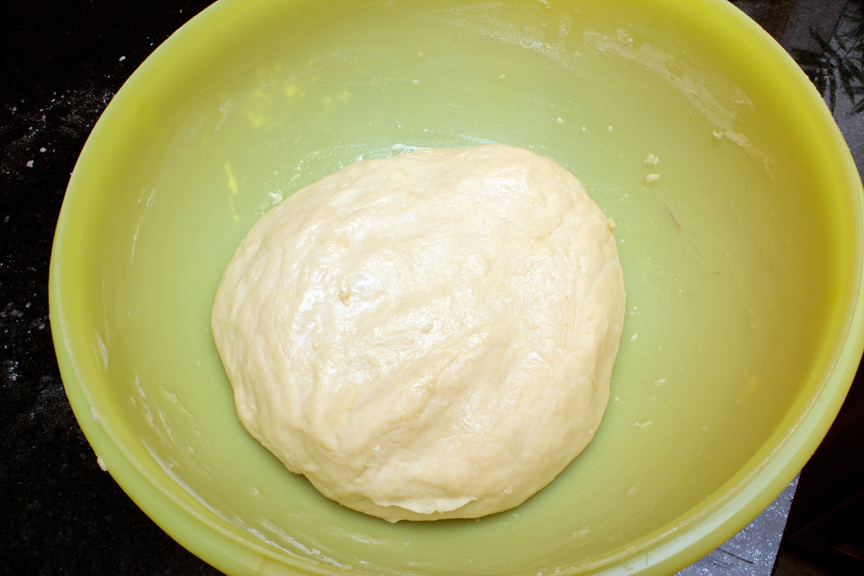
Cover and place in a warm area for about 1 hour to allow dough to rise and double in size.
Dough should look like so.

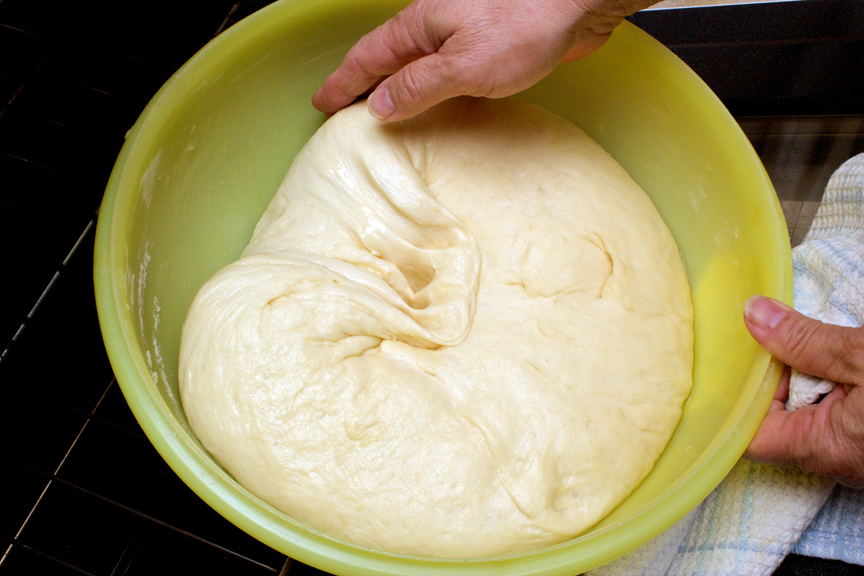
Punch dough down and knead again briefly.
Cover and let rise again for another hour or so.
While your dough is rising, make the cottage cheese filling.
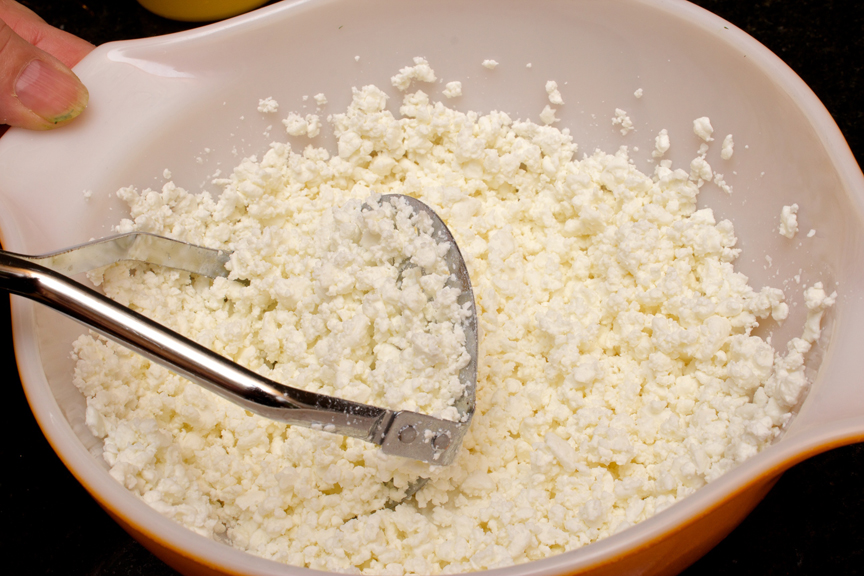
Place cottage cheese in a large bowl.
Using a potato masher or a fork, mash the cottage cheese to make the curd smaller.
You don’t want any large chunks of curd in your filling as it is harder to seal the dough around it.
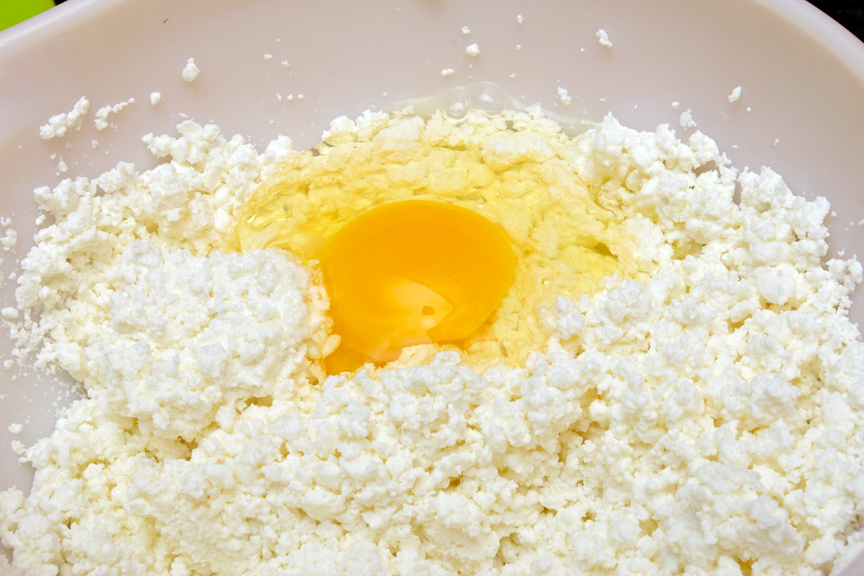
Add your eggs.
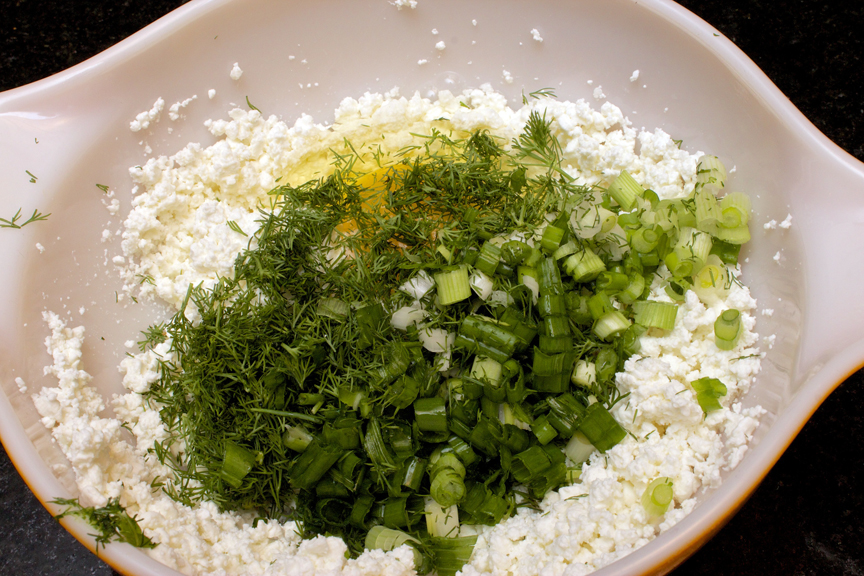
Next add your sliced green onions, fresh dill and salt and pepper.
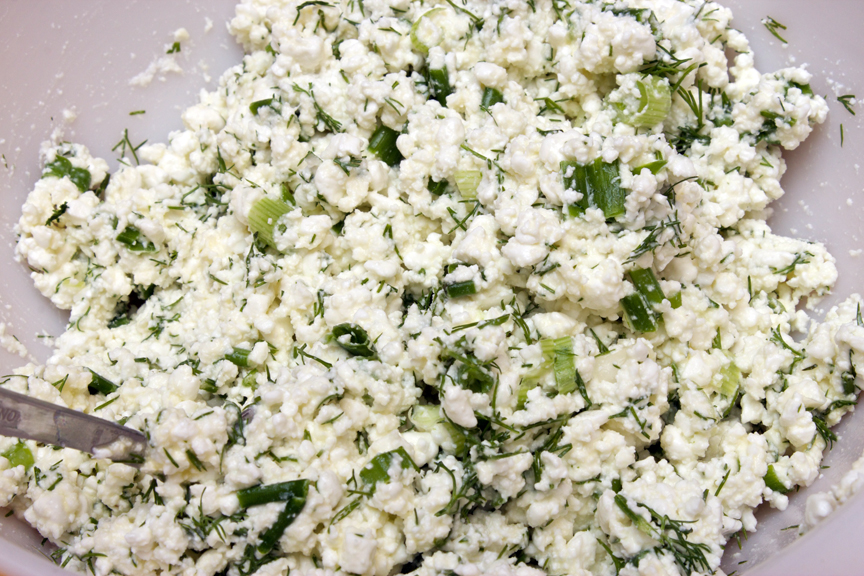
Mix well.
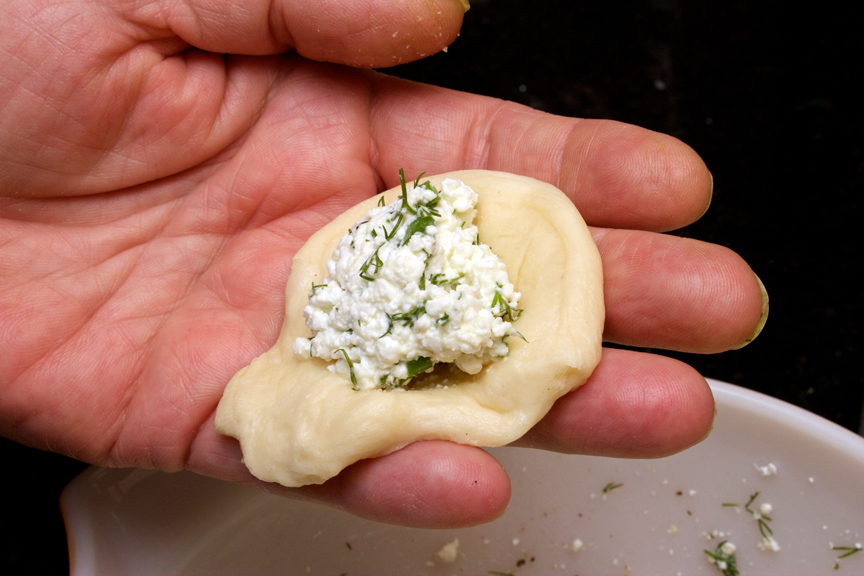
Pinch off small pieces of your dough.
Flatten with your fingers and place a teaspoon amount of filling into the center of the dough.
Be careful not to have any filling touch the sides of the dough, as it won’t seal properly.
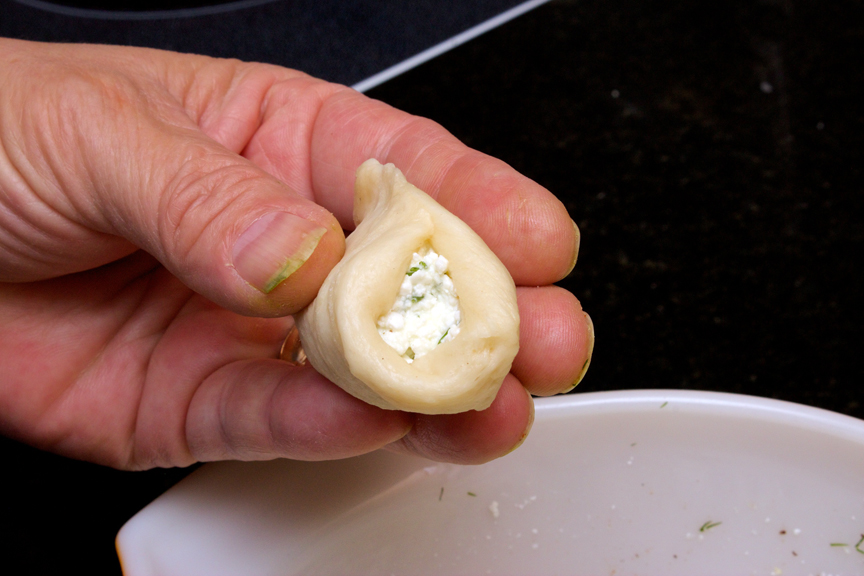
Pinch sides together and shape into crescents, then little balls.
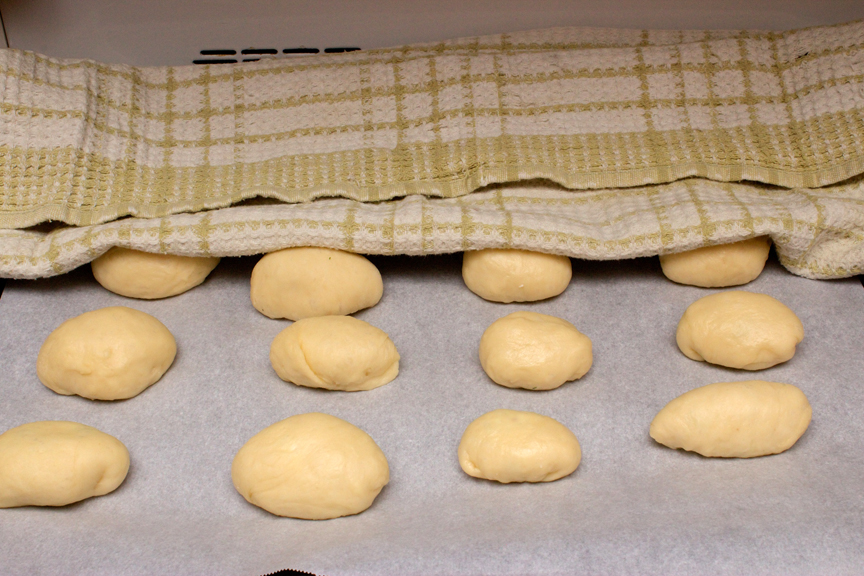
Place onto a greased or parchment lined baking sheet.
Cover with a clean damp towel and let rise for about 20 minutes.
Bake in a 325 degree Fahrenheit oven for approximately 15 minutes, or until the dough is golden brown.
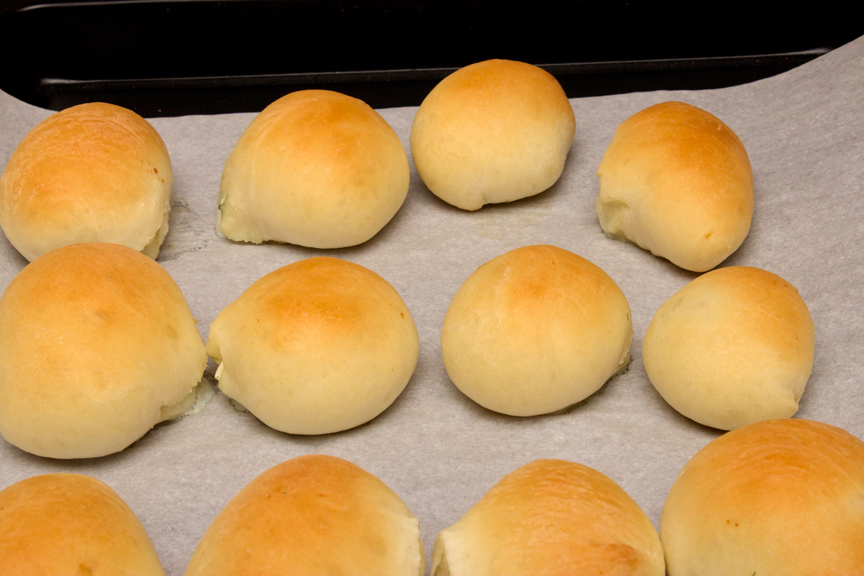
Brush with melted butter.
Now while your Perishke is in the oven, make your creamy dill sauce.
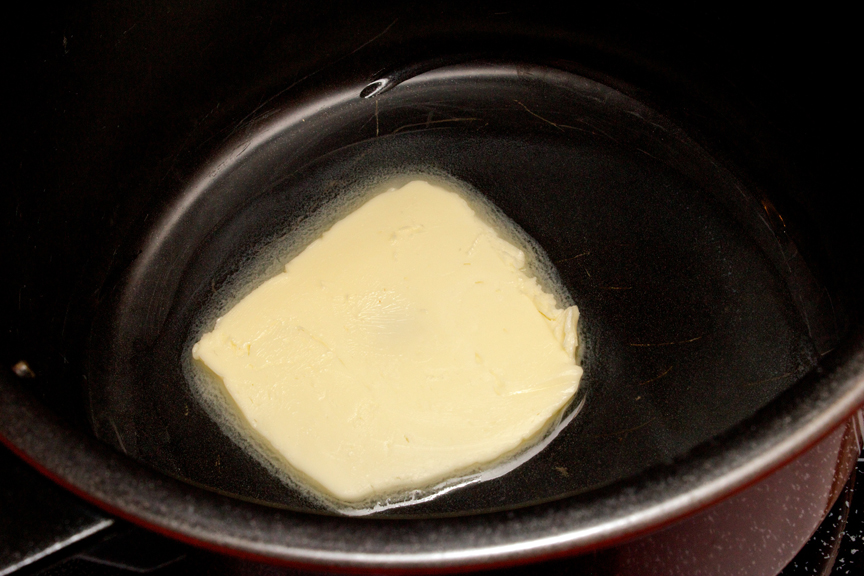
Melt butter in a medium sauce pan over medium-high heat.
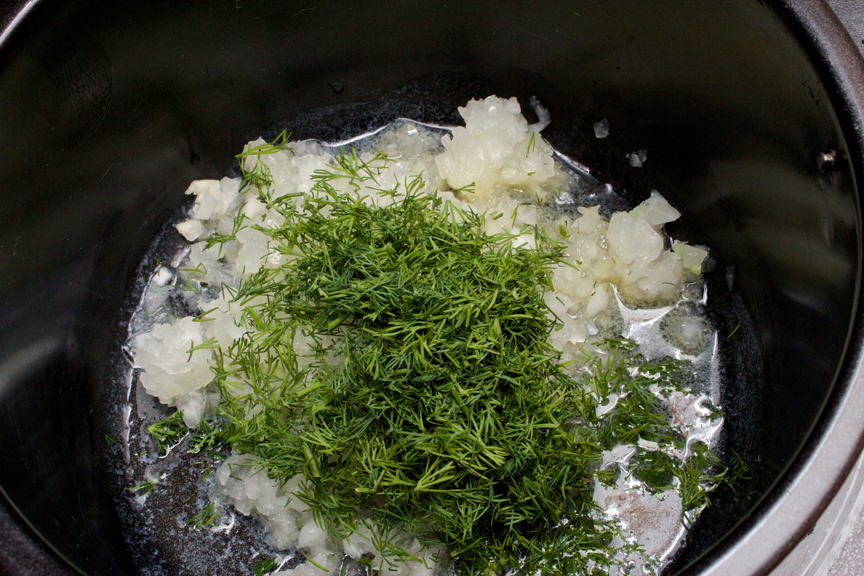
Add onions and dill to the melted butter.
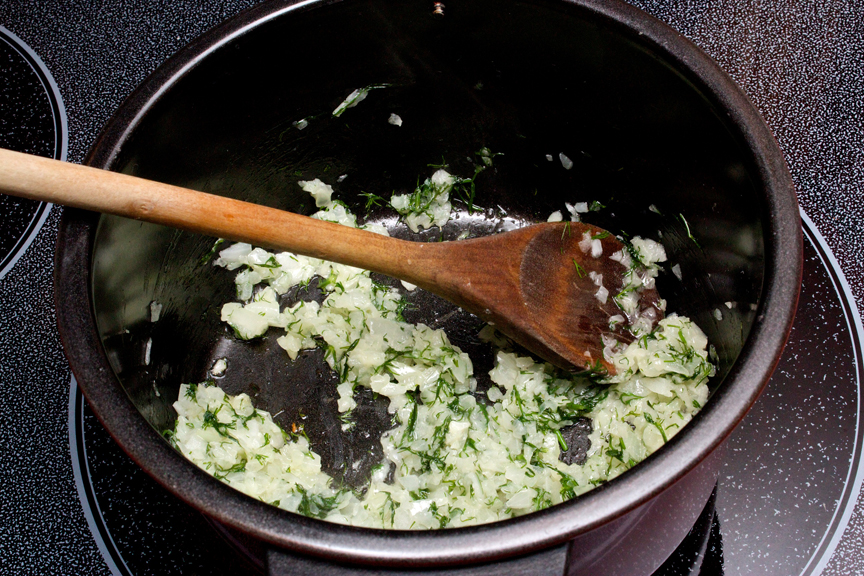
Saute together until onions are soft and translucent, about 8-10 minutes.
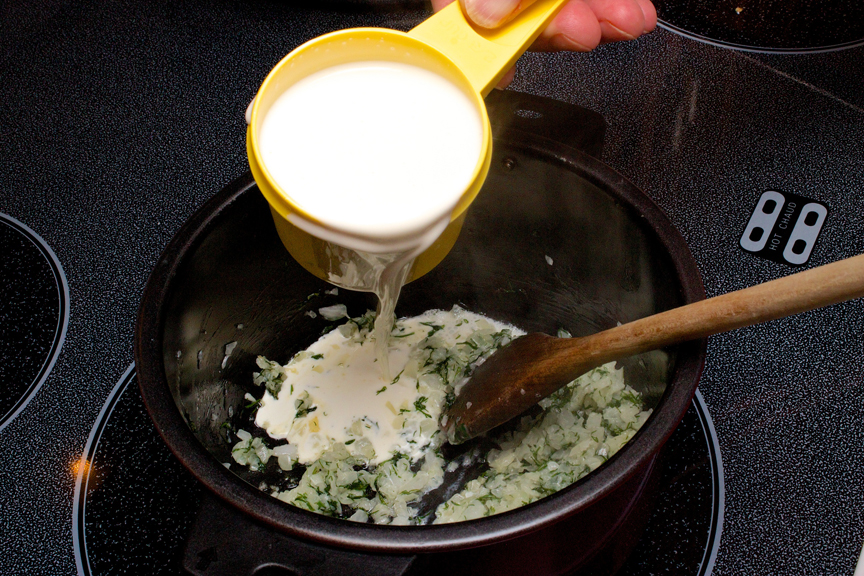
Pour in your whipping cream.
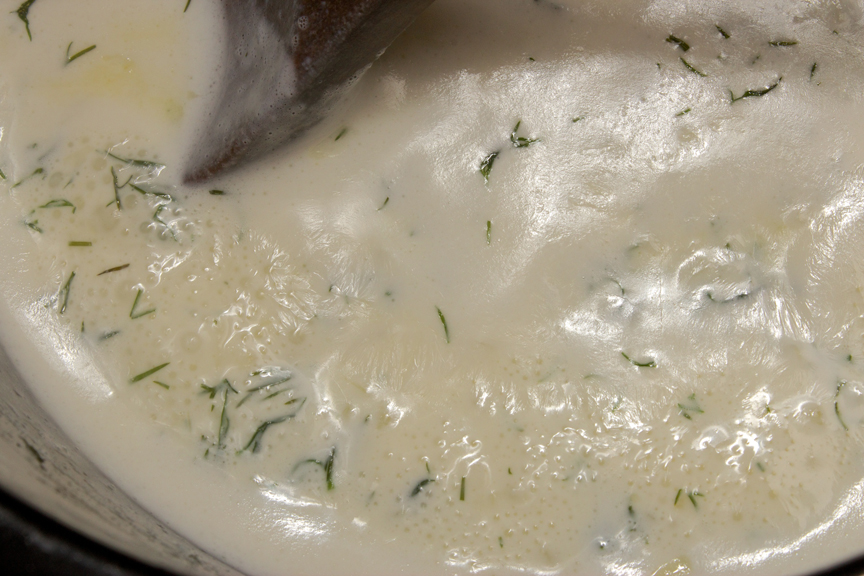
Bring to a light boil and reduce heat to simmer for 15 minutes, or until sauce thickens considerably.
Place your cottage cheese buns in a bowl.
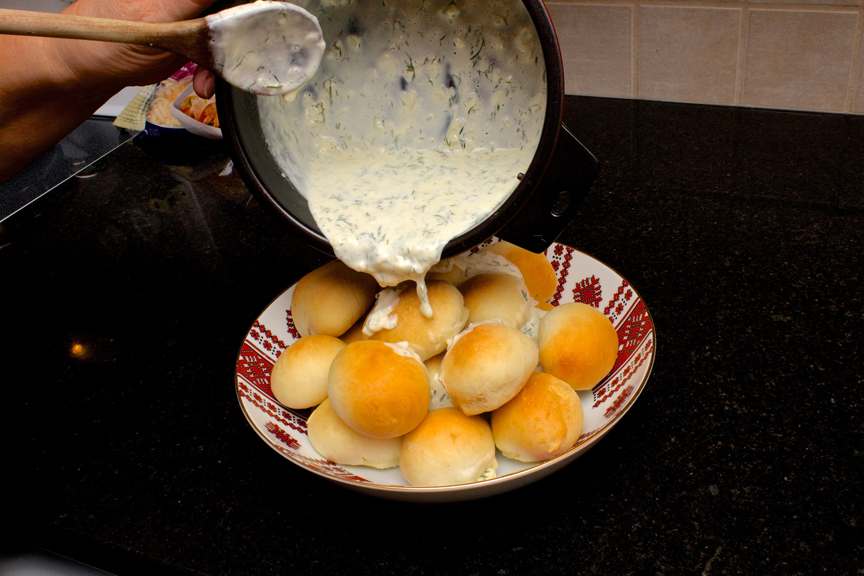
Pour over your delicious creamy dill sauce.
Serve immediately to friends and family.
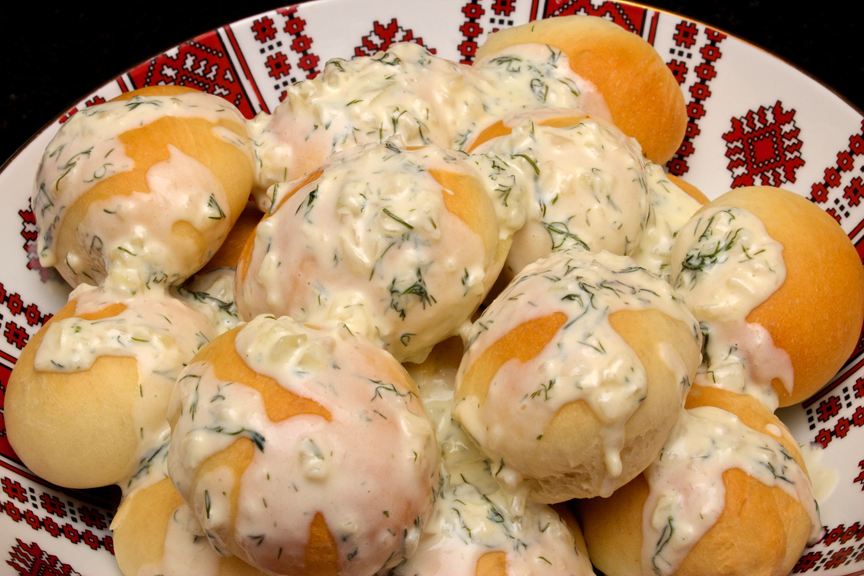
Sweet dill cream, rich cottage cheese filling, and warm delicious dough.
You cannot go wrong with this dish!.
Enjoy!
- 2 tbsp yeast
- 1 cup lukewarm water
- 3 eggs
- 1 cup water
- 6 tbsp canola oil
- 1/2 cup plus 2 tbsp white sugar, divided
- 1 tsp salt
- 6 cups all purpose flour
- 2 lb. dry curd cottage cheese
- 2 egg
- 4 green onions, thinly sliced
- 1 cup fresh dill, finely chopped
- Salt and pepper to taste
- 1 small onion, finely chopped
- 1/4 fresh dill, finely chopped
- 2 tbsp butter
- 2 cups whipping cream
- Place yeast and sugar into a small bowl.
- Add 1 cup of lukewarm water and stir. Let rise for about 10 minutes, or until very frothy.
- In a large bowl, whisk eggs together.
- Whisk in canola oil, 1/2 cup sugar, salt, water and frothy yeast mixture. Stir well.
- Add your flour 1 cup at a time. Mix well until flour is combined with the wet ingredients.
- Transfer your dough onto a well-floured surface.
- Kneed until dough is soft and elastic, about 5 minutes. Form into a ball.
- Place dough into a large oiled bowl, turning the dough ball once to coat completely.
- Cover and place in a warm area for about 1 hour to allow dough to rise and double in size.
- Punch dough down and knead again briefly. Cover and let rise again for another hour or so.
- While your dough is rising, make the cottage cheese filling.
- Place cottage cheese in a large bowl. Using a potato masher or a fork, mash the cottage cheese to make the curd smaller. You don’t want any large chunks of curd in your filling as it is harder to seal the dough around it.
- Add your eggs, sliced green onions, fresh dill and salt and pepper. Mix well.
- Pinch off small pieces of your dough. Flatten with your fingers and place a teaspoon amount of filling into the center of the dough. Be careful not to have any filling touch the sides of the dough, as it won’t seal properly.
- Pinch sides together and shape into crescents, then little balls.
- Place onto a greased or parchment lined baking sheet. Cover with a clean damp towel and let rise for about 20 minutes.
- Bake in a 325 degree Fahrenheit oven for approximately 15 minutes, or until the dough is golden brown. Brush with melted butter.
- Now while your Perishke is in the oven, make your creamy dill sauce.
- Melt butter in a medium sauce pan over medium-high heat.
- Add onions and dill to the melted butter. Saute together until onions are soft and translucent, about 8-10 minutes.
- Pour in your whipping cream.
- Bring to a light boil and reduce heat to simmer for 15 minutes, or until sauce thickens considerably.
- Place your desired amount of cottage cheese buns in a bowl. Pour over your delicious creamy dill sauce.
- Serve immediately and enjoy!
- These buns freeze very well. After baking and cooling, transfer to a freezer bag and place in the freezer. All you need to do in the future is heat them up in the oven or microwave.
- You can also freeze unbaked in a single layer on a baking sheet wrapped with plastic wrap.
61 Comments on Perishke – Ukrainian Cottage Cheese Buns in Creamy Dill Sauce
2Pingbacks & Trackbacks on Perishke – Ukrainian Cottage Cheese Buns in Creamy Dill Sauce
-
[…] Ukrainian Cottage Cheese Buns with Creamy Dill Sauce (Perishke) from Claudia’s Cookbook […]
-
[…] over the top of the buns. This dish is so savoury and hits the spot every time. I found a lovely recipe that Jaime wrote about in her blog. I love being part Ukrainian because of how different it […]
Kennedy
December 6, 2014 at 6:56 PM (12 years ago)I thought you’d like to see my cousin’s blog about cheese dill buns. I had sent your last two perishke recipes to my cousins..and she did make the buns but didn’t follow your recipe exactly
I have fond memories of my mom making them when we lived on the farm where she made her own cottage cheese from the milk and of course used fresh dill from the garden!!
love your blog!
http://eleanorstadnyk.blogspot.ca/2014/12/ukrainian-cottage-cheese-and-dill-buns.html
Claudia's Cookbook
December 7, 2014 at 10:25 PM (12 years ago)Hi Kennedy! Thanks so much for sharing not only our recipes, but your cousin’s as well! The post is fantastic. I’m happy the recipes are able to bring back such fond memories for you. Thanks again for the lovely comment 🙂
Leslie
December 23, 2018 at 3:12 PM (8 years ago)I used Eleanor’s salt measurement and feel it’s a little too much. I would start with one tsp then add more. Making the dough was the most time due to letting it rise. Otherwise actually making of rolls was quick.
Kathy
May 23, 2025 at 9:25 AM (1 year ago)My mom filled noodle dough with this with fresh parsley as well. Shape into triangles and simmered for abt ten minutes. Topped with browned butter with fried little bits of the dough. So good!!
Lesya
December 17, 2014 at 3:27 AM (12 years ago)I am glad to see so many delicious Ukrainian dishes in your blog. As I am Ukrainian I grew up on it. But now I live in Hungary. Here is my blog written in Ukrainian, there you may find some Hungarian dishes too. Hope you will enjoy it as I enjoy yours. https://damilli.wordpress.com/
Claudia's Cookbook
December 17, 2014 at 8:24 AM (12 years ago)Thank you so much for sharing Lesya! Your blog and food look super delicious. I will have to use Google Translate and make some of your dishes! 🙂
sandra danchuk
January 1, 2015 at 10:48 PM (11 years ago)These were very good but the baking temp and time were wrong. The first batch I baked at your suggestion of 325 and they were no where near done after 15minutes so left them in for another 20 minutes. The second batch I did at 375 degrees for about 25 minutes and they were perfect.
Claudia's Cookbook
January 2, 2015 at 10:07 AM (11 years ago)All ovens are different. It’s important to watch your baking, that’s why we stated “Bake in a 325 degree Fahrenheit oven for approximately 15 minutes, or until the dough is golden brown.”
Andrew
February 5, 2023 at 11:22 PM (3 years ago)Sorry. But the responce was acurate.
Baking time is wrong.
Maybe if you would fix that little mistake… or point of retardation rather. This recipe would be great.
375 for 20-25 min.
Instead of responding with undignified attitudes. .how about a.. hey, I didn’t notice that thanks. .because even while checking for browning… at 325. That browning just doesn’t happen.
Thanks person who originally commented. This was usefull and I referred to your suggestion the second batch.
Worked perfect.
Andrew sucks
April 5, 2024 at 1:49 AM (2 years ago)Jesus Christ dude what’s wrong with you? Go get some anger management if this is how you respond to a lady sharing her recipe online
Laura
August 24, 2024 at 11:28 AM (2 years ago)Right? Holy crap dude take a chill pill
Marie Currie
March 27, 2016 at 4:48 PM (10 years ago)Altitude affects your cooking times. I like to not only ‘watch’ my baking, but I assume most recipes are written for sea level. For every 300m or 1,000ft above sea level, I add 10 minutes OR increase the temp by 10%. We’re 600m here in Central AB. 😀
Your fuel source has a bearing on the outcome too. An oven thermometer is very handy.
Shelley Hawken
February 15, 2018 at 1:09 AM (8 years ago)Thanks, I’ve always wondered about this. Now I have something to gauge off of.
shannon
February 7, 2015 at 8:58 PM (11 years ago)Thank U for sharing your recipe, I have never made them myself, we buy them, make our own dill sauce but we bake it in a big roster with lots of the dill sauce… ooohhhh…so good!
Claudia's Cookbook
February 16, 2015 at 10:22 PM (11 years ago)You’re welcome Shannon! There is nothing as good as homemade 🙂
sylvie amésée
February 8, 2015 at 11:55 AM (11 years ago)Seems to be a hard work but also seems to be worth the trip!
DeeDee
August 8, 2015 at 8:14 PM (11 years ago)Thank you! I have been looking for this recipe forever!
Claudia's Cookbook
August 9, 2015 at 3:11 PM (11 years ago)You’re so welcome! Let us know how you like it!
Theresa
October 23, 2015 at 6:54 PM (11 years ago)We also had these at Christmas…but the filling was mashed potato, onion and dill…just as decadent!
Claudia's Cookbook
October 25, 2015 at 1:30 PM (11 years ago)That sounds delicious!
Lauren
December 4, 2015 at 12:33 PM (11 years ago)Hello, looking forward to making these for Christmas. Reading that you can bake the bun, freeze them and re heat at the time of use. Just wondering if you recommend a temperature and a time frame for this. An also do you do it from frozen or thaw them. Doing it this way would say a lot of time day of. Thanks in advance
Claudia's Cookbook
December 4, 2015 at 2:53 PM (11 years ago)Hi Lauren – it’s best to thaw them first and then throw them in the oven to warm up for a few minutes. 350 degrees for about 5 minutes is probably all you need. Just keep an eye on them 😉
Laurie Semeniuk
December 12, 2015 at 8:56 AM (11 years ago)the only thing i do differently is line them up in rows on a cookie sheet in rows so they rise close together and you pull them apart after they’re baked while still warm….. delicious
Susan Pichette
September 14, 2016 at 3:39 PM (10 years ago)Thankyou for this…my mother-in-law also baked them close together and then poured whipping cream over them straight from the oven…so good !!
Claudia's Cookbook
September 18, 2016 at 9:16 PM (10 years ago)You’re welcome!
Dorothy
December 20, 2015 at 10:19 AM (11 years ago)Hello about how.much does this recipe make? Thx
Claudia's Cookbook
December 22, 2015 at 4:42 PM (11 years ago)Like it says in the recipe portion of the post – it yields about 96.
Val
January 20, 2016 at 10:04 PM (10 years ago)What would the equivalent be for dried dill? Hard to get the fresh dill here in Cuenca, Ecuador.
Claudia's Cookbook
January 24, 2016 at 5:16 PM (10 years ago)The typical equivalent is 1 tablespoon of fresh to 1 teaspoon of dried. So I would say for this recipe, just over 1/4 cup of dried dill, but add in small quantities and taste to see how strong you like it.
Luba
March 23, 2021 at 9:17 PM (5 years ago)What is the amount of fresh dill…it just states 1/4 fresh dill. Do you mean a quarter of a cup?
Claudia's Cookbook
July 12, 2021 at 1:53 PM (5 years ago)Yes, 1/4 cup. Sorry about that!
George
March 27, 2016 at 3:57 PM (10 years ago)Raised on this and when baba passed away longed for it as well as all the other favourites. Then Lady Luck came by and my Hungarian wife picked up a Ukrainian cook book in Edmonton Alberta.
She’s an amazing cook making every thing from scratch. I have to say my baba would be very proud of her.
The only recipe it lacked in the book was this one. Now my life is complete, thank you for sharing. I can still remember clearly a half dozen wives crammed into Babas kitchen for my uncles wedding cooking all kinds of amazing dishes. This one was one of my favourites.
George
Claudia's Cookbook
March 28, 2016 at 8:51 PM (10 years ago)Thank you so much for sharing, George! I’m so happy this recipe completed the search 🙂 I hope you enjoy it as much as we do!
PHILINE
April 10, 2016 at 10:26 AM (10 years ago)I make this dish for every holiday occasion, it is the dish I’m always asked to bring for family potlucks.They do freeze very well,and to warm up I put them in an oven bag to warm up and you’ll never get any that have dried out or become hard.
Steph
December 26, 2016 at 9:27 AM (9 years ago)These were yummy! I did a half batch to try it, and they’re not that hard. I just had a tough time judging how much dough to pinch off to use for each bun, turns out a small peice can be stretched pretty thin to get the right size… some of my firsts were too big! Oops practice makes perfect. So I had a bit of extra filling left… Bake and learn! Would make again for sure! the dough is sooo soft… Mmmm so glad there was some for the freezer and a few extra. Thanks for the recipe, will have to print it for my favorites binder!
Claudia's Cookbook
January 4, 2017 at 12:06 PM (9 years ago)So glad you liked the recipe, Steph! 🙂
Melanie
January 3, 2017 at 9:45 PM (9 years ago)I am wondering about prep if you freeze the buns uncooked. How long would I allow them to thaw on the counter before baking?
Claudia's Cookbook
January 4, 2017 at 12:07 PM (9 years ago)Hi Melanie – I’d say a couple hours.
JodyGirl
December 1, 2017 at 6:23 AM (9 years ago)I have been searching for this recipe for so long! My Baba made them half with cottage cheese filling, half with prune filling, but did not put sauce on top, we just ate the buns as is. They were delicious and I couldn’t remember the name or find the recipe until now. Thanks so much! My family will love these – an amazing food memory!
Debra
July 12, 2018 at 5:54 PM (8 years ago)I use this recipe except instead of water I use milk even in proofing my yeast and sugar and I use 1/2 cup butter instead of oil Sooo soft and delicious
Cindy
April 13, 2019 at 9:50 PM (7 years ago)Hi there
I made these for Easter but most of them opened up at the seal.
Would you know why?
Andrea
May 2, 2019 at 8:09 PM (7 years ago)Hi there. Is it instant yeast that you use for this perishke recipe?
Thank you.
Brad Masiowski
August 20, 2019 at 9:22 AM (7 years ago)Hi
This is a great reference. Thank you for posting it. I have evolved my mom’s and baba’s recipe over the years and thought you might want to include these embellishments.
I use a bread maker on dough setting for the dough. Mine came with a recipe book that included “Cheese and Dill bread”. It seemed like a natural pairing for these. Basic bread recipe but add 1/4 cup finely mashed dry cottage cheese and 1/4 cup chopped dill. I also add onion powder or dried onion. Watch when first mixing, you might need to add a bit of water.
When heating to serve, I like to make the sauce and put the dry buns into the frying pan. They warm up nice and get soft. The cream dill and onion make a great sauce that thickens up quickly. (a bit of salt too), I don’t put butter in here.
I also like to serve with a bit of sour cream on the side for dipping.
Its all very decadent, but if you only treat yourself a few times a year, the health risk is minimized! A lot can be said for increased endorphins!
Holly Cependa
September 12, 2019 at 3:51 PM (7 years ago)Used the dough recipe and filled with finely chopped beet leaves. Topped with the sauce they were amazing! We call the inside-out beetniks.
Bill
July 26, 2020 at 3:38 PM (6 years ago)Your recipes look very good. Is is possible to 1/2 the recipe as we are a smaller family?
Claudia's Cookbook
March 1, 2021 at 3:25 PM (5 years ago)Absolutely!
Luisa
December 26, 2020 at 1:54 AM (5 years ago)We used to deep fry the perishke instead of putting them into the over. Delicious!!!!
Claudia's Cookbook
March 1, 2021 at 3:15 PM (5 years ago)Good to know!
Courtney Mrochuk
December 20, 2021 at 2:03 PM (5 years ago)What kind of yeast do you use. This is the first time I’m making something like this and I know nothing about yeast.
Claudia's Cookbook
December 20, 2021 at 2:18 PM (5 years ago)We use Instant Dry Yeast.
Jonas
December 23, 2021 at 12:34 PM (4 years ago)I follow instructions exactly , except use more filling and make into buns, it is exactly the way my Baba made them for me when I was a kid! I am making them to add to Christmas gifts today for my father and brother, thank you for the recipe
Judy Novitski Miron
November 24, 2022 at 8:29 AM (4 years ago)Our family recipe has a small amount of mashed potatoes included in the filling but rest of ingredients are the same as yours. They are served at Christmas and Easter for our traditional Ukrainian dinners. Both my parents were Ukrainian and we still follow our traditional heritage
Natalie
April 7, 2023 at 5:30 PM (3 years ago)I was SO happy to have found this recipe! Brings back such good memories of sitting around the dining room table with all of my family, enjoying many delicious Ukrainian dishes including this one.
I have not had these since my mom passed 15 years ago. I have finally attempted them. They do not look as pretty as yours or my moms, but they taste divine!!
Thank you for sharing.
Emily
June 16, 2023 at 11:39 PM (3 years ago)I’ve used this recipe several times and have been very happy with it!! Filling the buns is always a challenge but I think I’m improving every time 🙂
My one issue is that the first couple times I seemed to use far less filling than the recipe made, and unfortunately had to toss about half of it (although, this could be due to difficulties with proportioning the buns). Since then I’ve been halving the filling recipe and doubling the sauce- personally found that works out nicely! Thanks for the great recipe, definitely one of my fave Ukrainian dishes 🙂
Ronald Baranko
July 15, 2023 at 8:30 AM (3 years ago)I make these and the filling seems to shrink so there’s barely anything in the bun. Do you have any suggestions?
Savanna
September 13, 2024 at 11:21 AM (2 years ago)You’re not putting enough filling. I lived in Ukraine my family still there. That’s what my mother said when I asked .
Fran
March 6, 2025 at 1:22 PM (1 year ago)can you make these with just the sweet cottage filling?
Marian
January 6, 2026 at 2:39 PM (6 months ago)Back in 1984, I travelled back to Yorkton, SK in Canada for a family reunion. The Ukrainian churck ladies did the food (fabulous!). Anyway, I can home with two cookbooks and one of them had a recipe for baked perogi – they seem exactly the same (including the dill cream sauce) BUT they did not require yeast or rise time. These were SO good!! I still have the cookbook but as I recall the dough called for baking power (or soda) and perhaps a little sour cream. I could look it up if anyone is interested, but has any one else ever had this recipe? I baked the perogi (bite-size) to golden brown and they were added to the dream sauce after baking while warm. Gosh, they were so darn good, LOL!!
Barb
October 19, 2019 at 1:48 PM (7 years ago)Can you freeze buns and then make sauce when serving?